In Part Two of this series, I’m going to show how to set up a Dodeca View that will display Data Audit Log information. We already have the SQL Connection and SQLPTDS created but we still need to create the View. Since we are potentially sending multiple member names from the View Selectors, we need to set up some customer Selector Lists. This will allow us to send the member names with the correct format for our SQL code. You can refer back to Part One to see that code.
I will now show how to create the Market Selector List. This will serve as a model for the other multi-select dimensions: Product, Measures, and Year. I won’t show how to create those as it’s the identical process with only the dimension name changing. We did leave Scenario as single select so that dimension will not need a customer Selector List.
Creating Custom Selector Lists
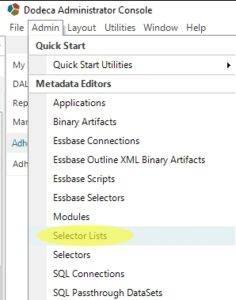
- Select Admin->Selector Lists.
- Click “New” at the bottom left.
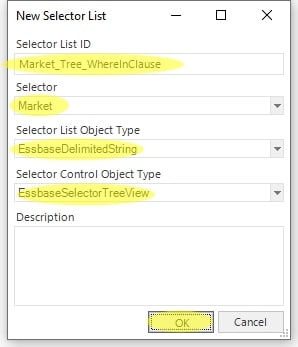
- Enter a name for the Selector List. In this case I will call it “Market_Tree_WhereInClause” since it will populate a list in the SQL Where clause.
- Select the Selector this Selector List will be tied to. In this case I will choose the Market Selector.
- Select the List Object Type. In this case I will choose the EssbaseDelimitedString. That way we can simply choose the dimension name.
- Select the Control Object Type. In this case I will choose the EssbaseSelectorTreeView. That will display my Selector as an Essbase tree.
- Now press “OK”.
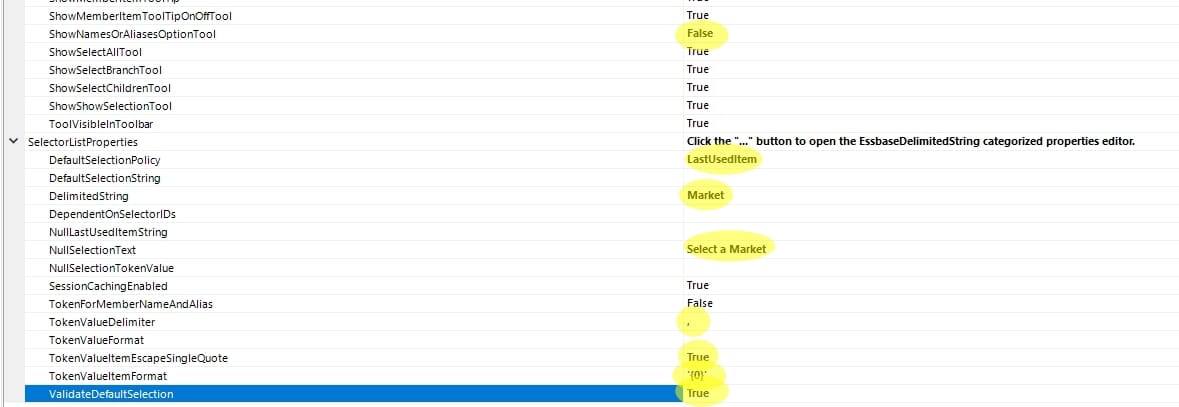
Now set the Selector List properties. We have many options — I will limit the ones I set for the sake of simplicity.
- Set ShowNamesOrAliasesOptionTool to False. We only want to use member names for this query since that is how they are stored in the Data Audit Log.
- Set DefaultSelectionPolicy to LastUsedItem.
- Set DelimitedString to Market. This tells the Selector List which member is at the top of our tree.
- Set NullSelectionText to “Select a Market”. This instructs the user what to do the first time they build this View.
- Set TokenValueDelimiter to a comma. This is necessary for the Where clause in our SQL statement. Each member name will be separated by a comma.
- Set TokenValueItemEscapeSingleQuote to True. If there happen to be any members with single quotes, they will be properly escaped in the SQL code.
- Set TokenValueItemFormat to ‘{0}’. For this property, each item selected will have a single quote prefix and suffix. That way it will be properly formatted for our SQL code.
- Set ValidateDefaultSelection to True. This will validate that the Market member is valid.
- Press “Commit” at the bottom left.
Creating the View
Next we will create our View using the Essbase Excel View Wizard. Normally for a SQL only View I’d use the SQL Excel View Wizard, however we will need to include Essbase Selectors in this View.
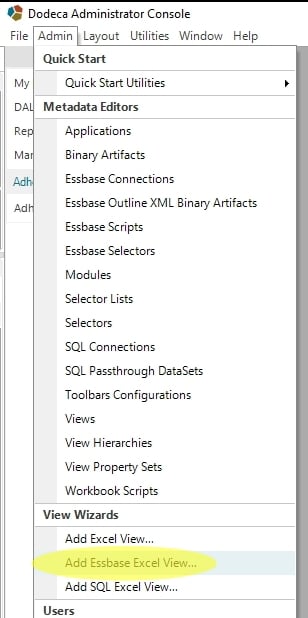
- Select Admin->Add Essbase Excel View…
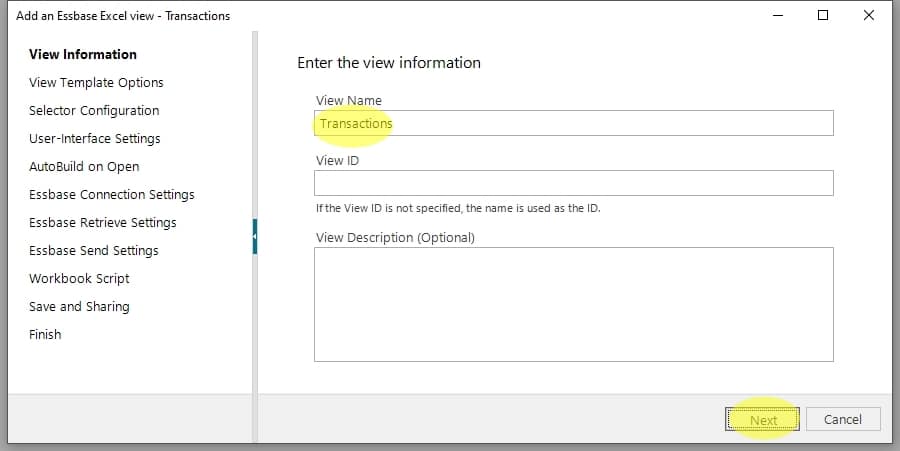
- Enter the view name, in this case “Transactions”, and click “Next.
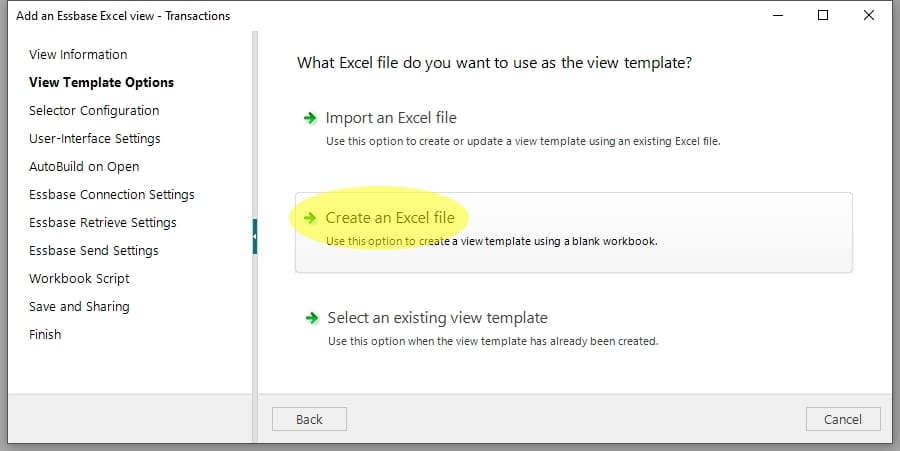
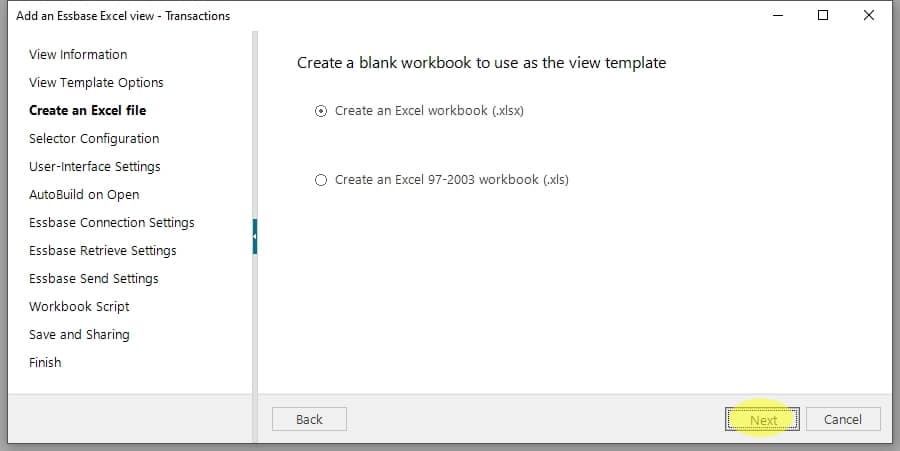
- Select “Create an Excel file”.
- Press “Next”.
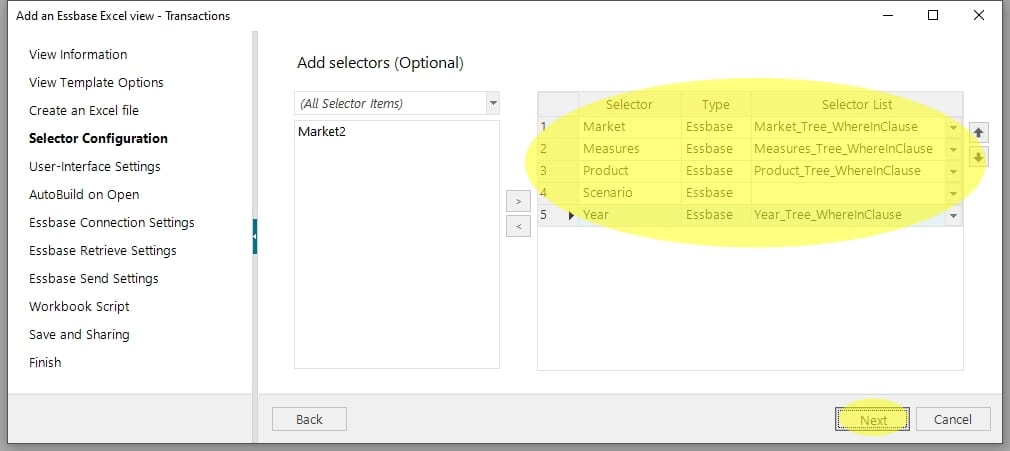
- Move the necessary Selectors to the right. In this case I’ve added Market, Measures, Product, Scenario and Year. I’ve also changed the Selector List for each of them to their own custom respective Selector List I created earlier.
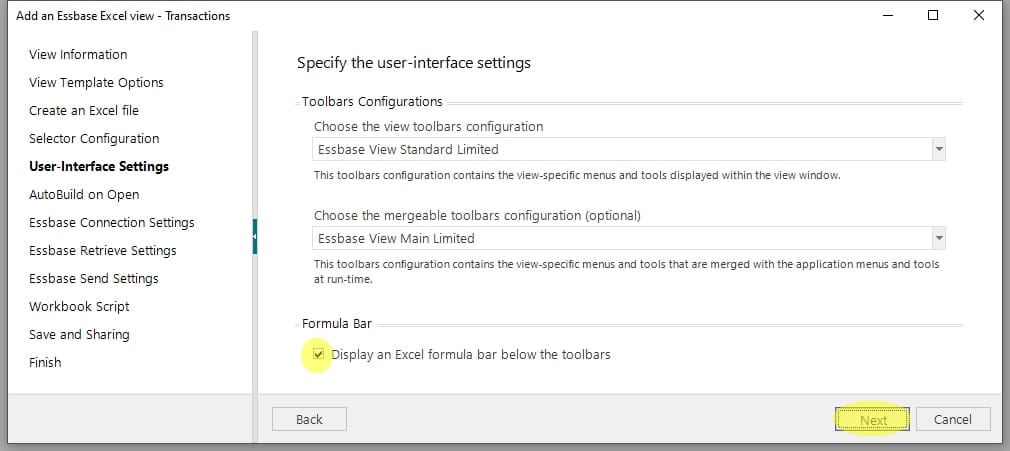
- Check the box so that the Excel formula bar is displayed. Then press “Next”. This is an optional step but I usually turn on the formula bar during development.
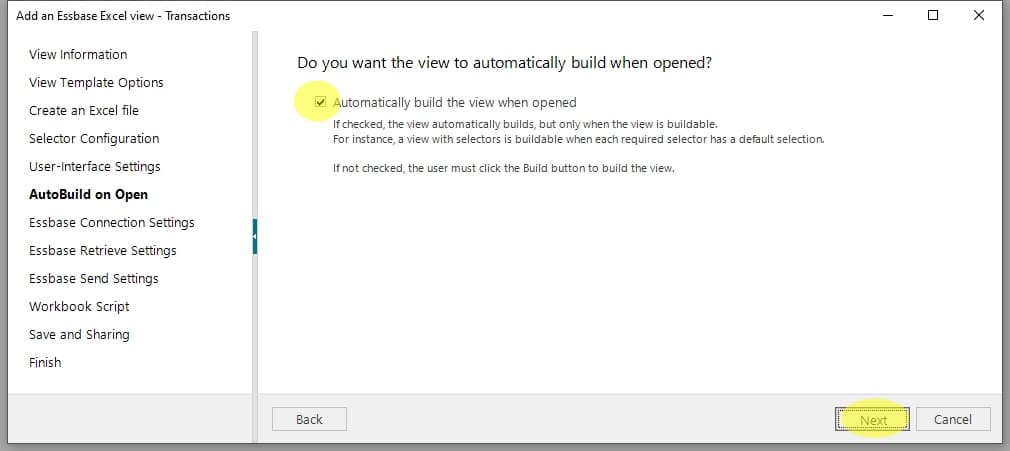
- Check the box so that the view is automatically built when opened.
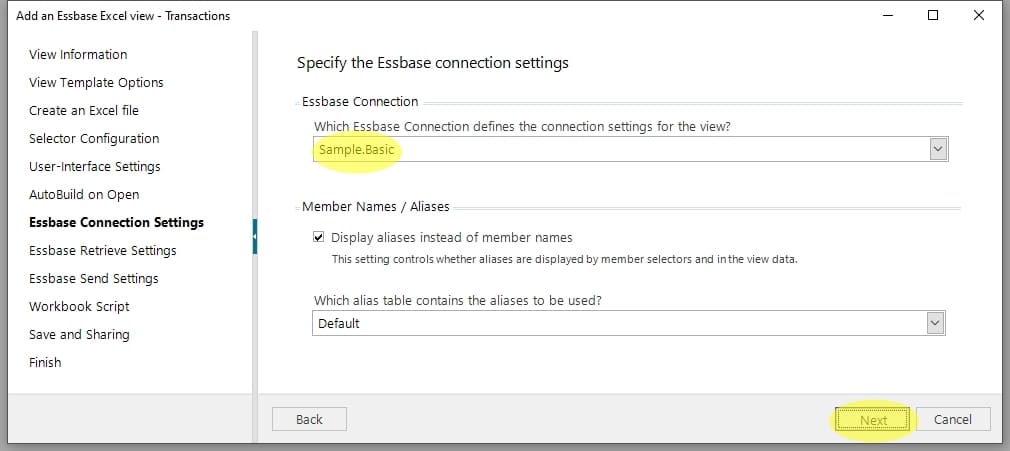
- Select the Essbase connection in the dropdown. Then press “Next”.
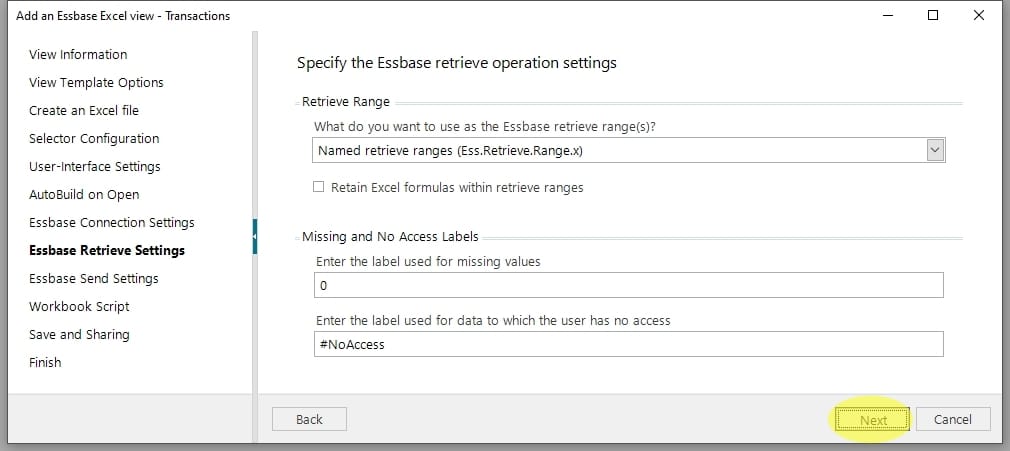
- We will not be retrieving Essbase data in this view so these settings are not relevant. Press “Next” to continue.
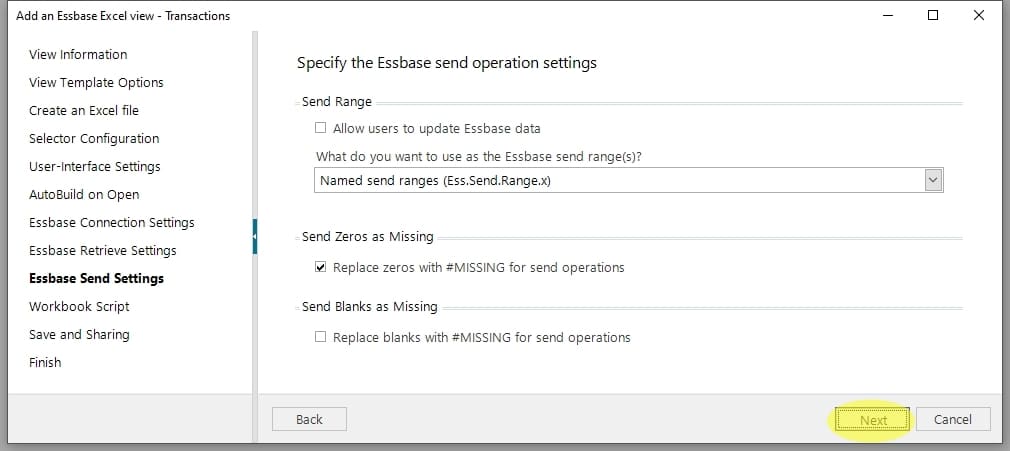
- We will not be sending Essbase data in this view so these settings are not relevant. Press “Next” to continue.
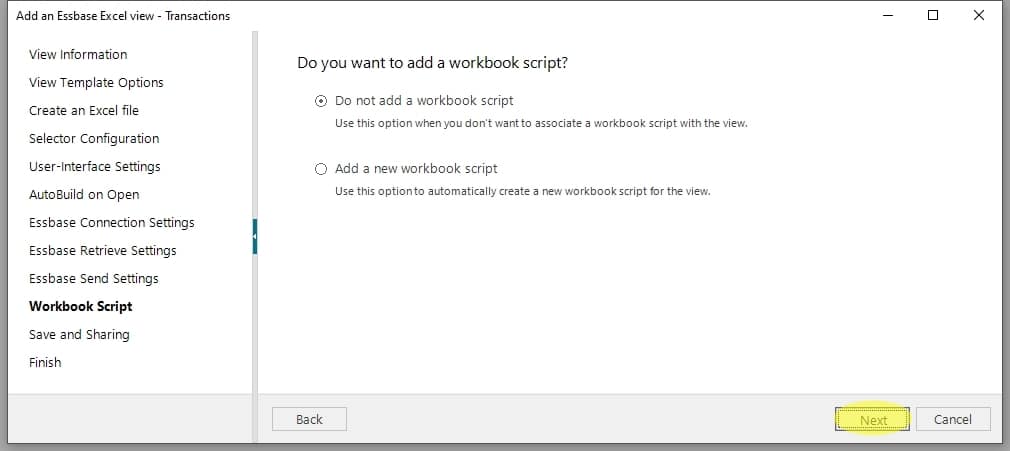
- We will not need a Workbook Script for this view. We can always add one later if necessary. Press “Next” to continue.
- Allowing users to save the View with specific selections doesn’t make a lot of sense in this case. There’s probably a use case for it out there so enable it if necessary. Press “Next” to continue.
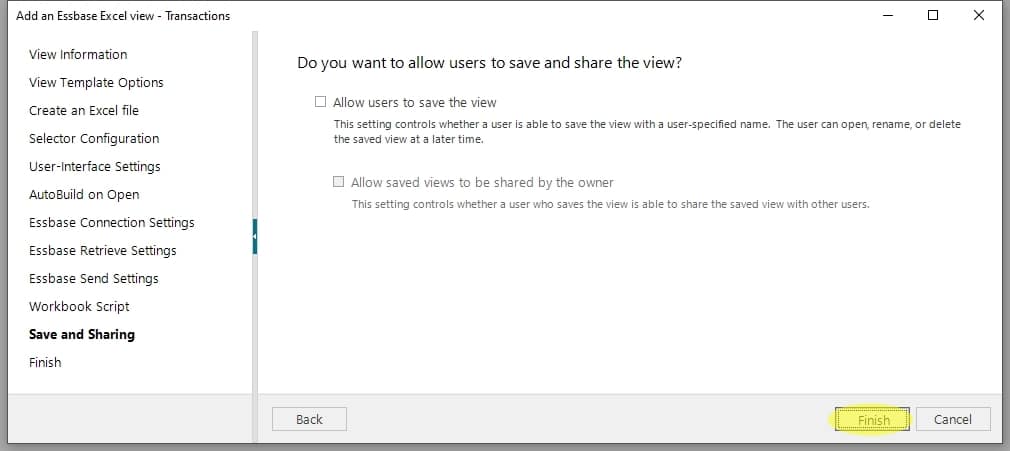
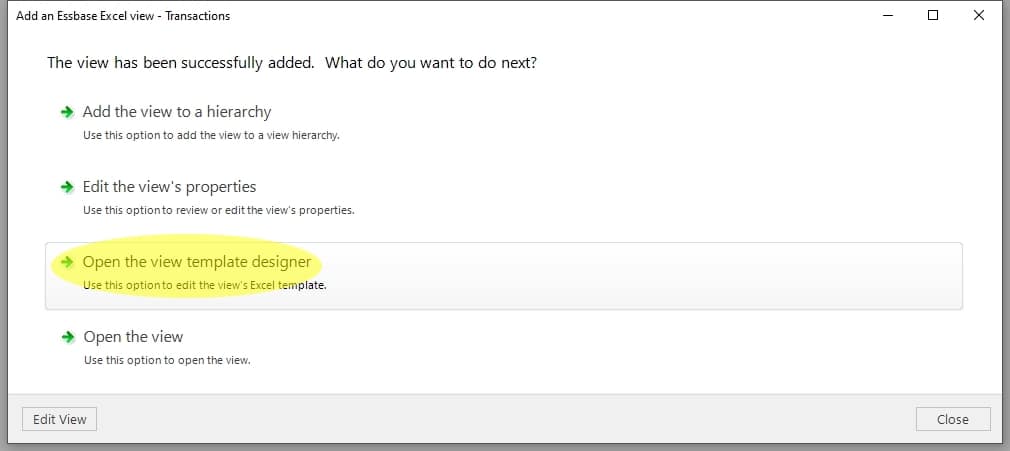
- We will make changes to the Excel template now so click “Open the view template designer”. You can close the Wizard once the template designer is open.
Editing the View Template
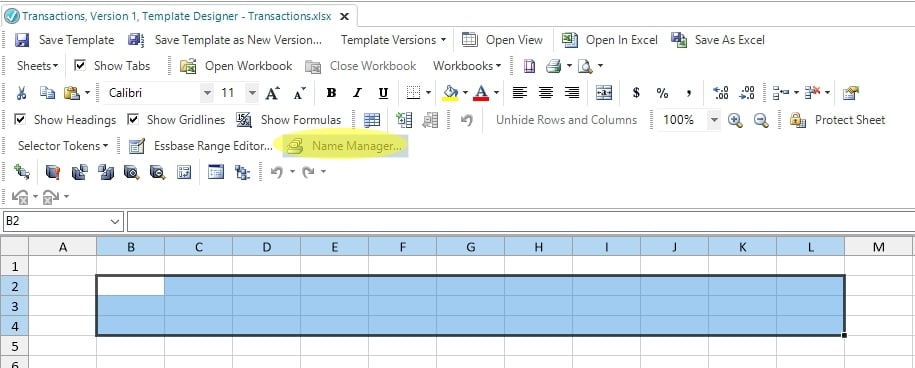
- We need to create an Excel named range where our relational data will be displayed. It needs to be the exact number of columns we expect to get back. In this case, since I will be returning column names, I will make the range three rows high. Once the data is retrieved, the range can automatically expand no matter how many rows we get back.
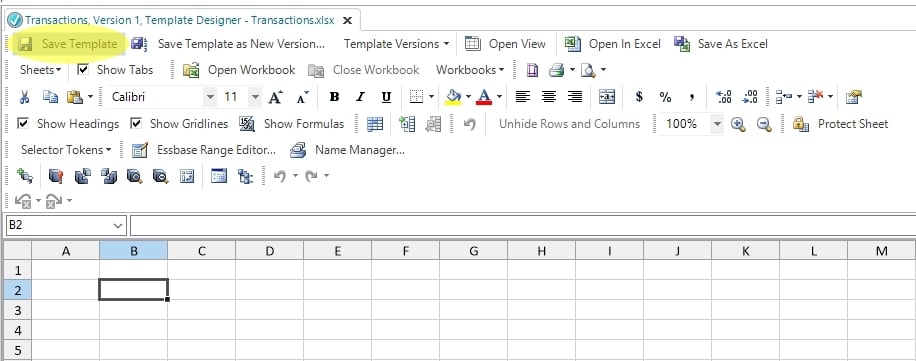
- Highlight cells B2:L4. Then press the “Name Manager” button.
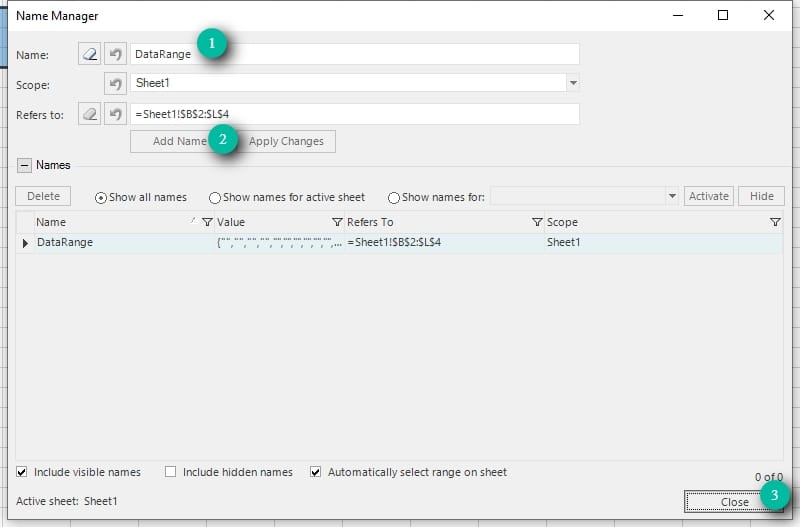
- Set the name to “DataRange”. You can choose any name you’d like, try something that’s easy to remember.
- Press the “Add Name” button.
- Press the “Close” button.
- Press the “Save Template” button to save the changes.
Editing the View Properties
Now that the range is defined in our template, we can finish editing the View properties.
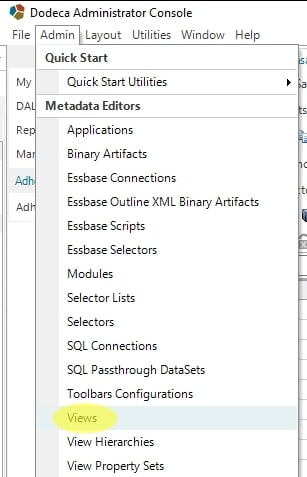
- Select Admin->Views.
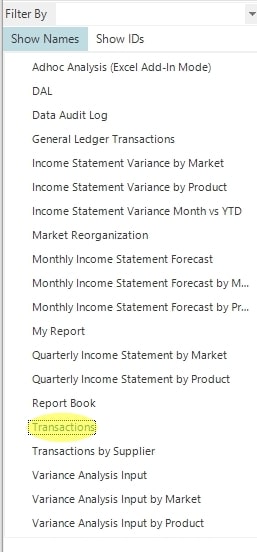
- Select the Transactions View.
- Expand the Selectors properties and press the SelectorConfiguration ellipsis.

- Change the Selection Policy for the Market, Measures, Product and Year Selectors to “MultipleItems”. Then press the “OK” button.

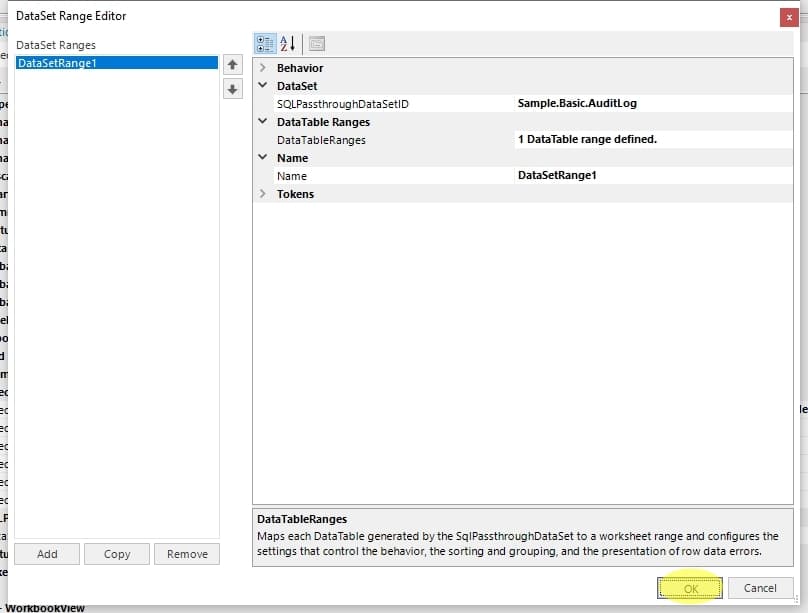
- Expand the SQLPassthroughDataSet Ranges properties and press the DataSetRanges ellipsis.

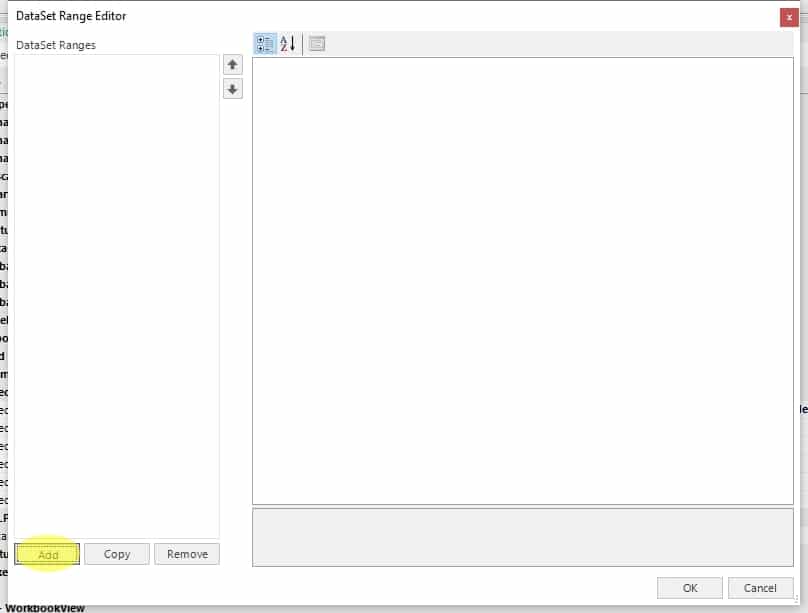
- Press the “Add” button at the bottom left.
- Select the “Sample.Basic.AuditLog” SQLPassthroughDataSetID.
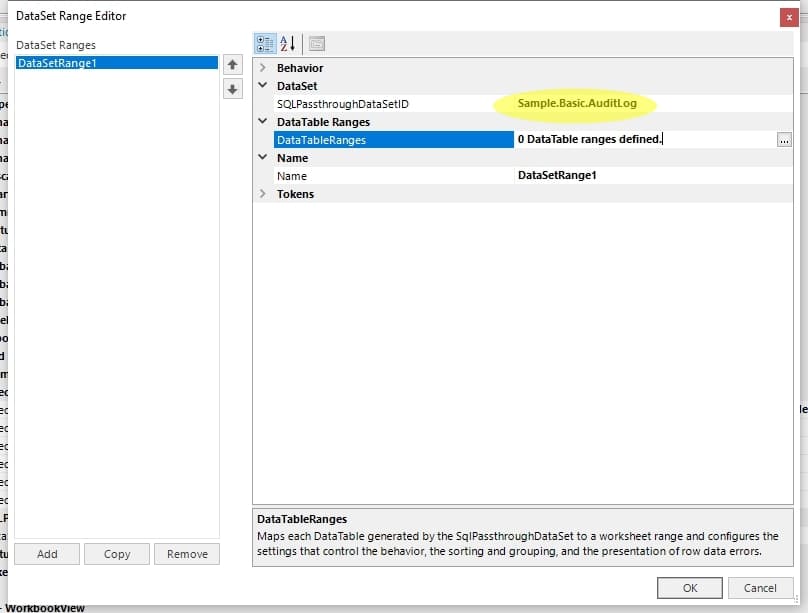
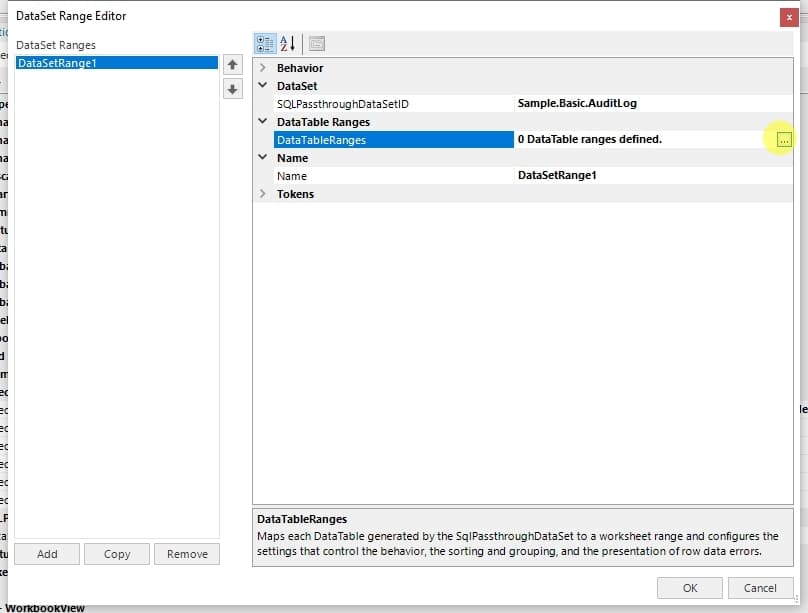
- Press the DataTableRanges ellipsis.
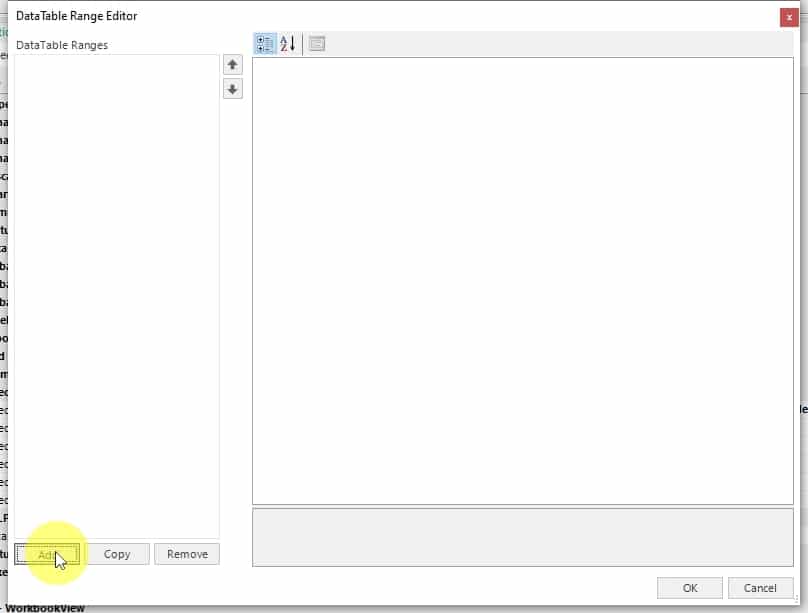
- Press the “Add” button at the bottom left.
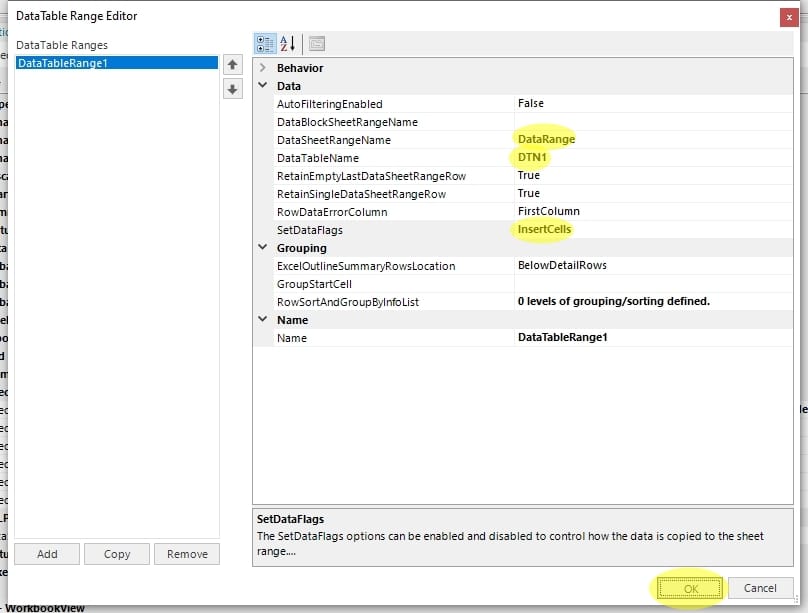
- Set the DataSheetRangeName to “DataRange”. This is the Excel named range we created in the template earlier.
- Set the DataTableName to “DTN1”. This is simply shorthand for DataTableName1.
- Set the SetDataFlags to “InsertCells”. This will expand our DataRange as rows are added in the View.
- Press the “OK” button.
- Press the “OK” button.
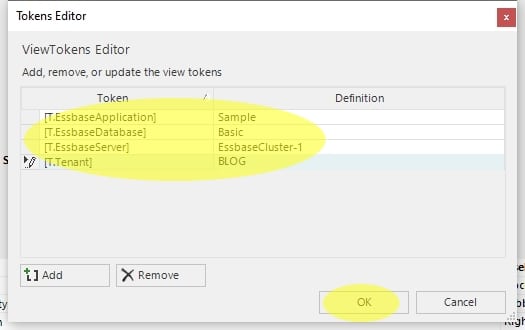
- Expand the Tokens properties and press the ViewTokens ellipsis.

- Set the view tokens to the appropriate values. These will likely be different in your environment. Alternatively these can be set using a Workbook Script but that is outside the scope of this post.
- Commit the View properties changes.
- Press the Preview button to build the View.
- Data changes that reside in the Data Audit Log tables will now be displayed for the selected members.

In the third and final post of this series I will show how to tie this Transactions View to an Essbase View allowing for quick lookup of data changes.

