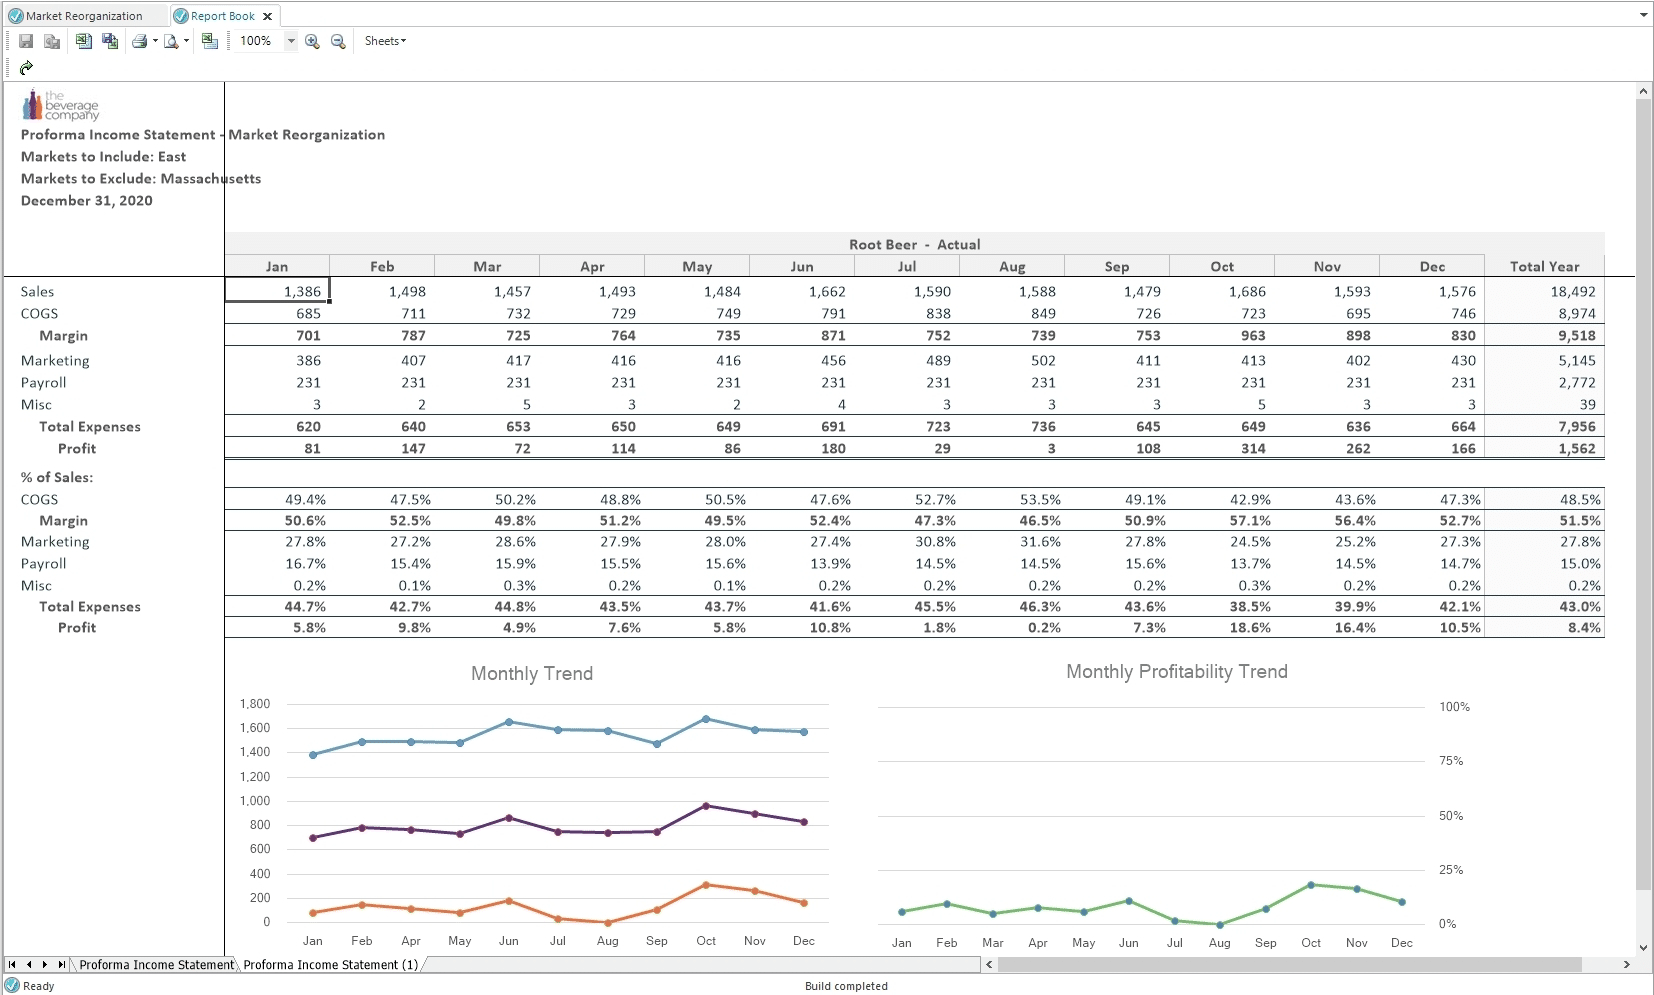
Creating a Book of Reports in Dodeca
A typical task for a financial analyst is to pull together a number of reports into a single workbook that tells a story. The story might show the progression from a higher level to a more detailed analysis or a number of different scenarios. In any case, putting together several reports into a single workbook can be done in Dodeca in a way that makes things easy for an analyst.
For this exercise we’ll follow these steps:
- Create a target, empty, workbook. This will be the view that holds the worksheets we want to compile together.
- Create a Workbook Script that adds a view to a workbook.
- Add buttons to an existing View’s Toolbar allowing a user to add the rendered View to a workbook.
Part One: Creating a Target View
This is the easy part. We need to create an Excel View with a blank workbook. This will be our target View for all of the worksheets we want to compile. We can do this using the Excel View Wizard.
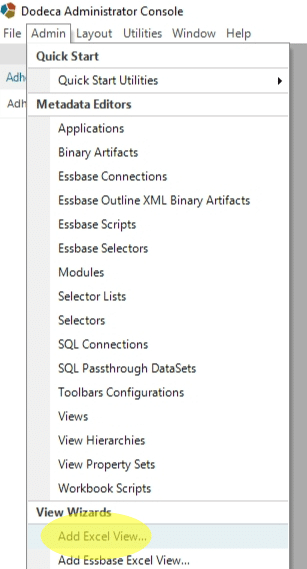
- Select Admin->Add Excel View
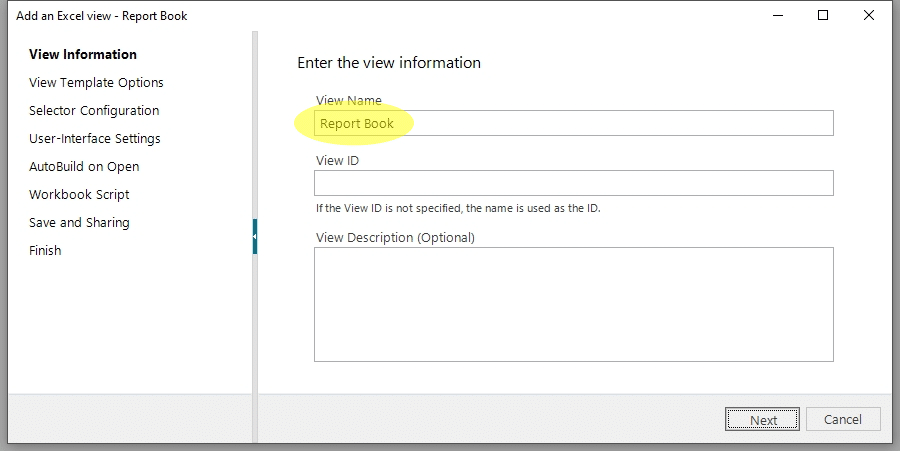
- Name the View “Report Book”
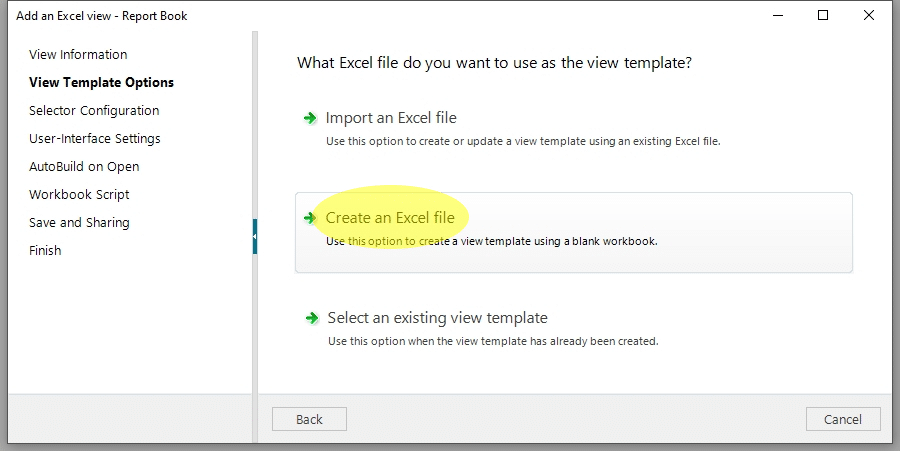
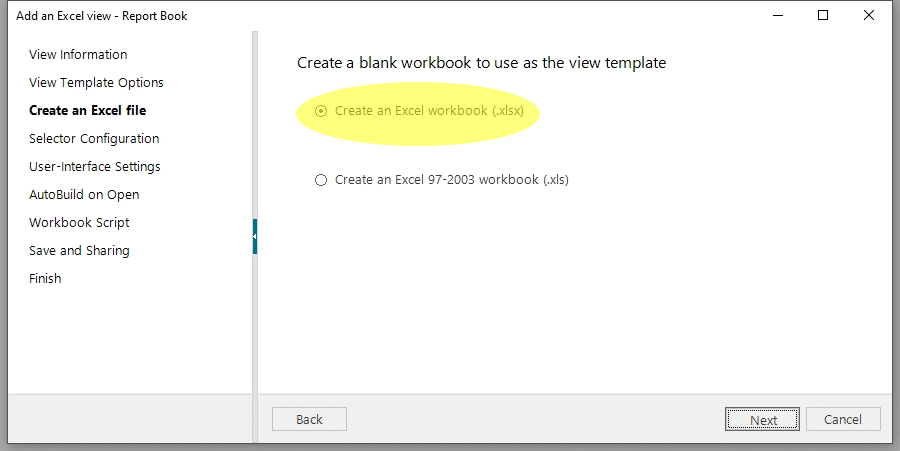
- Create an Excel file
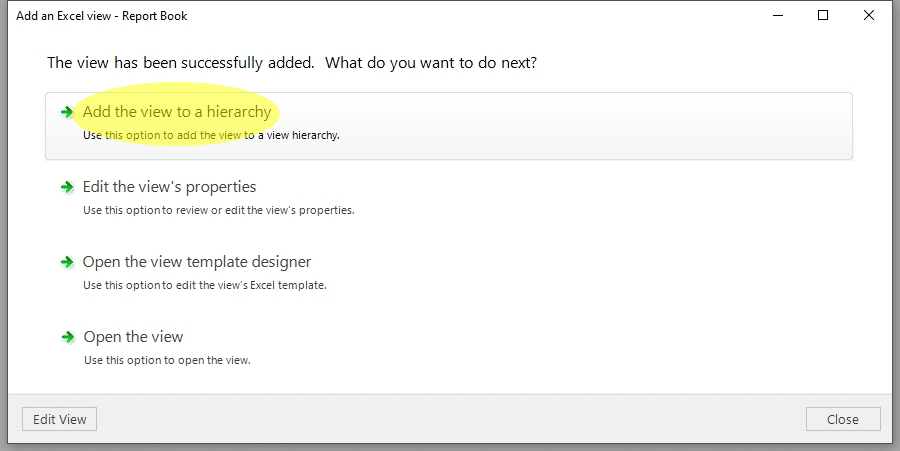
- Add the View to a hierarchy
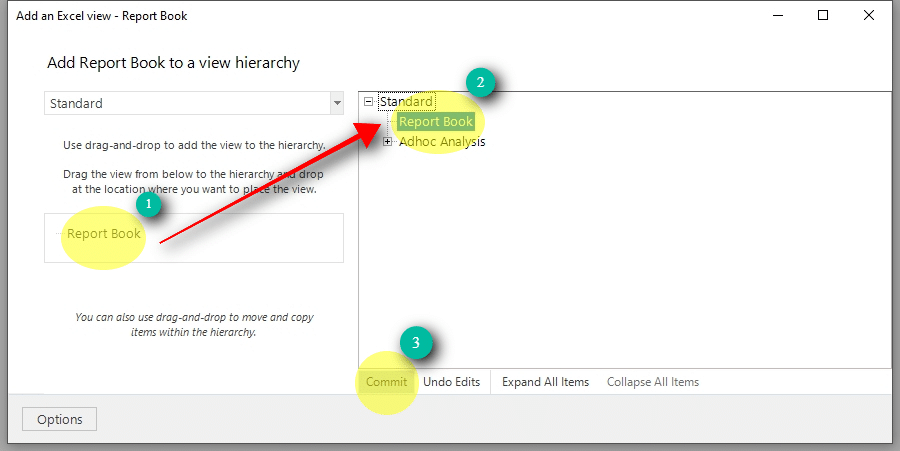
- Drag the View to the Standard Hierarchy and commit the change.
Part Two: Create the Workbook Script
In this section we’ll create a generic Workbook Script. In general, when creating Workbook Script procedures that are executed by buttons on a Toolbar, it is best practice to put them into a Utility script. The reason behind this is that there can be issues when Views are copied. If you’re not completely careful, your new View could be calling the old View’s Workbook Script. Confusion inevitably ensues.
From a high level standpoint we’ll do the following in this part:
- Create a Workbook Script called “Utilities”.
- Add a Procedure called “New Book”. This procedure will:
- Delete the Binary Artifact from our “Report Book” View.
- Display a message letting the user know the “Report Book” View is cleared.
- Add a Procedure called “Add Sheet”. This procedure will:
- If the “Report Book” View is not empty, add the current worksheet to the end of the workbook.
- If the “Report Book” View is empty, create a new binary artifact using the current worksheet.
- Display a message letting the user know the worksheet has been added to the “Report Book” View.
Now the detailed instructions:
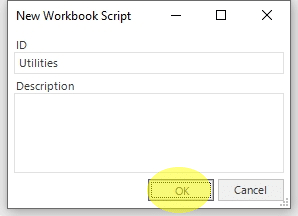
- Create a new Workbook Script called “Utilities”.
- Create a new Procedure called “New Book”.
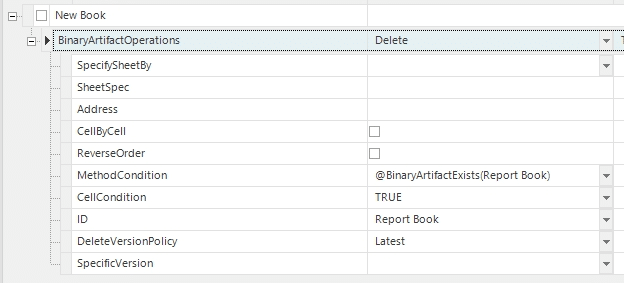
- Add the “BinaryArtifactOperations” method to the “New Book” Procedure.
- Use the “Delete” overload.
- Set the MethodCondition to “@BinaryArtifactExists(Report Book)”. This will ensure that the binary artifact actually exists before executing the method.
- Set the ID to “Report Book”.
- Set the DeleteVersionPolicy to “Latest”.
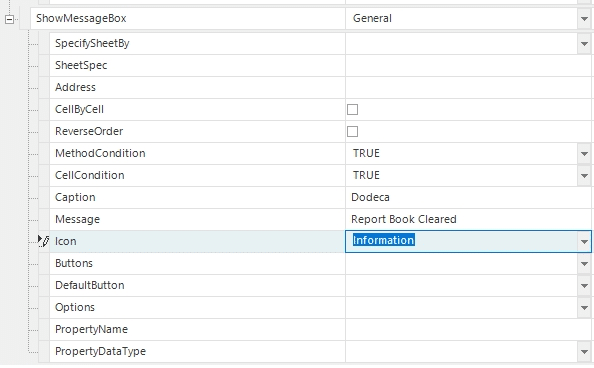
- Add the “ShowMessageBox” method to the “New Book” Procedure.
- Set the Caption to “Dodeca”.
- Set the Message to “Report Book Cleared”.
- Set the Icon to “Information”.
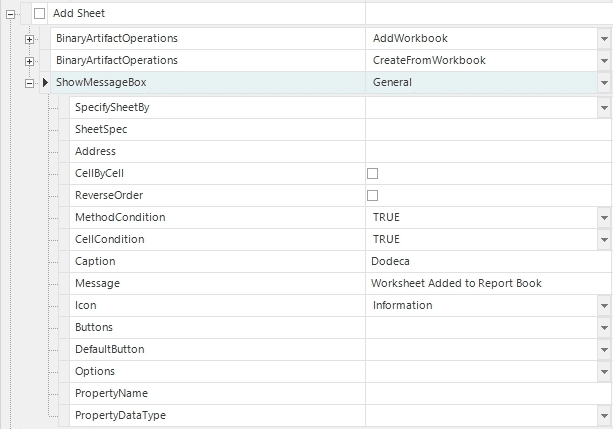
- Create a second Procedure called “Add Sheet”.
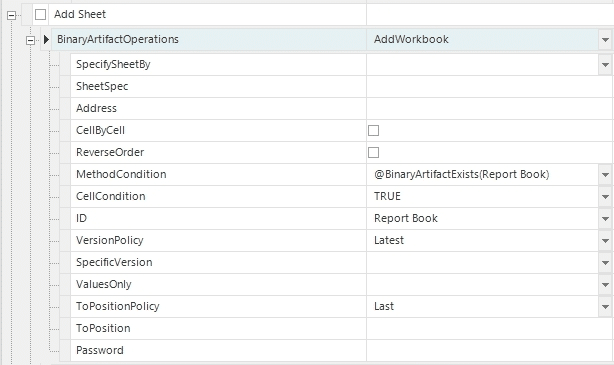
- Add a second “BinaryArtifactOperations” method to the “Add Sheet” Procedure.
- Use the “AddWorkbook” overload.
- Set the MethodCondition to “@BinaryArtifactExists(Report Book)”. This will ensure that the binary artifact exists before executing the method.
- Set the ID to “Report Book”.
- Set the VersionPolicy to “Latest”.
- Set the ToPositionPolicy to “Last”.
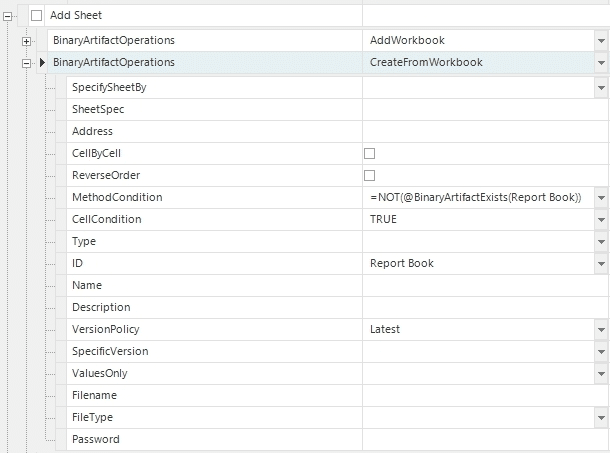
- Add the “BinaryArtifactOperations” method to the “Add Sheet” Procedure.
- Use the “CreateFromWorkbook” overload.
- Set the MethodCondition to “=NOT(@BinaryArtifactExists(Report Book))”. This will ensure that the binary artifact does not exist before executing the method.
- Set the ID to “Report Book”.
- Set the VersionPolicy to “Latest”.
- Add the “ShowMessageBox” method to the “Add Book” Procedure.
- Set the Caption to “Dodeca”.
- Set the Message to “Worksheet Added to Report Book”.
- Set the Icon to “Information”.
Part Three: Add Buttons
In this section we will add two buttons to a Toolbar. One button will clear the Report Book and the other will add the current worksheet to the Report Book. When adding buttons to a Toolbar, best practice is to make a copy of the Toolbar you want to use since you don’t necessarily want to alter Toolbars used in existing Views.
In this part we’ll need to do the following:
- Create a copy of the Toolbar we want to use.
- Create two buttons.
- Add the two buttons to the Toolbar.
- Hook the buttons to the Utilities WBS.
- Change our View properties to use the new Toolbar.
These are the detailed instructions:
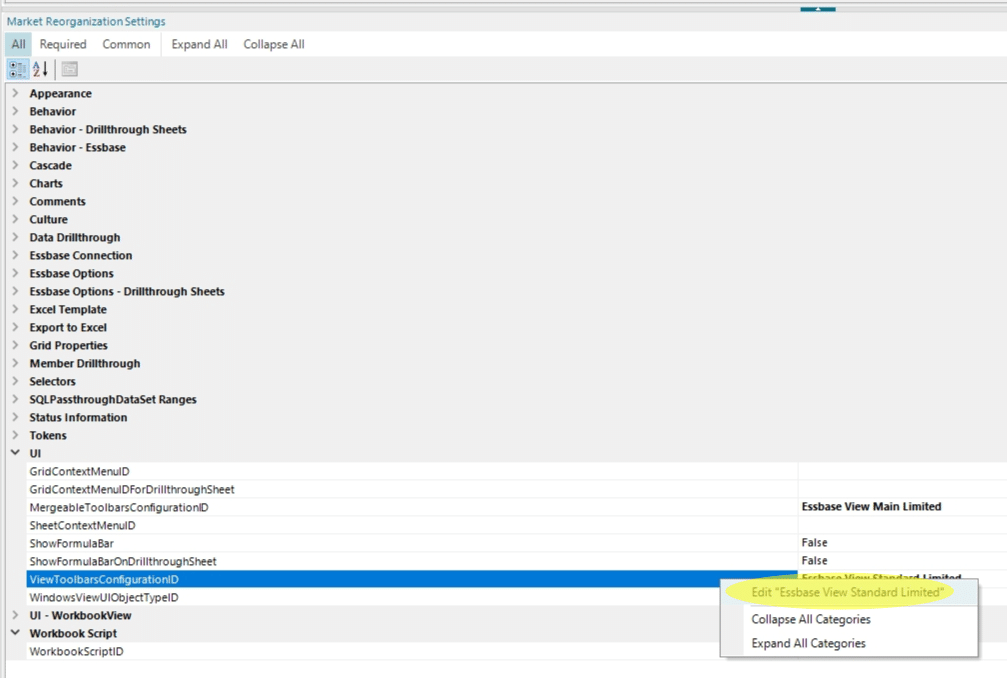
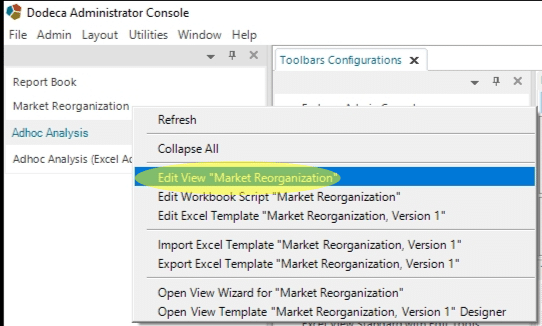
- In this case I’m using the Essbase View Standard Limited Toolbar. The View is called Market Reorganization. You should be able to alter almost any Toolbar for almost any View. First open the Toolbar you want to change. In the UI View Properties right click on the ViewToolbarsConfigurationID and select Edit “Essbase View Standard Limited”.
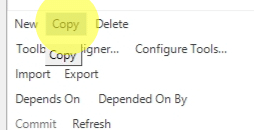
- In the Toolbars Configuration editor select Copy.
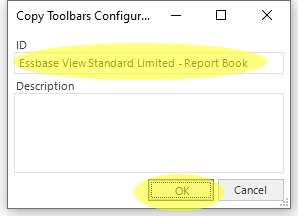
- Name the new Toolbar “Essbase View Standard Limited – Report Book”.
- Select Toolbars Designer.
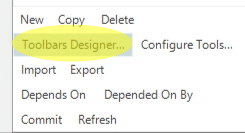
- In the Toolbars Designer, select the Tools tab and press “New…”.
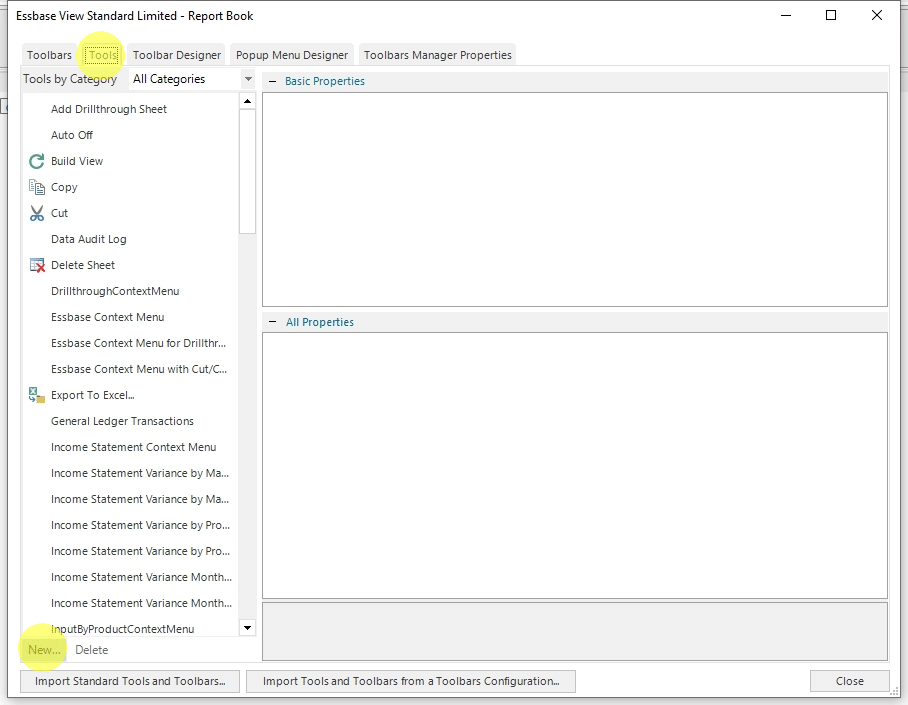
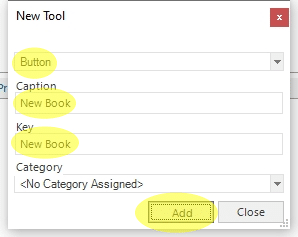
- Select a Button tool. Enter “New Book” for the Caption and Key. Then press “Add”. Then close the dialogue.
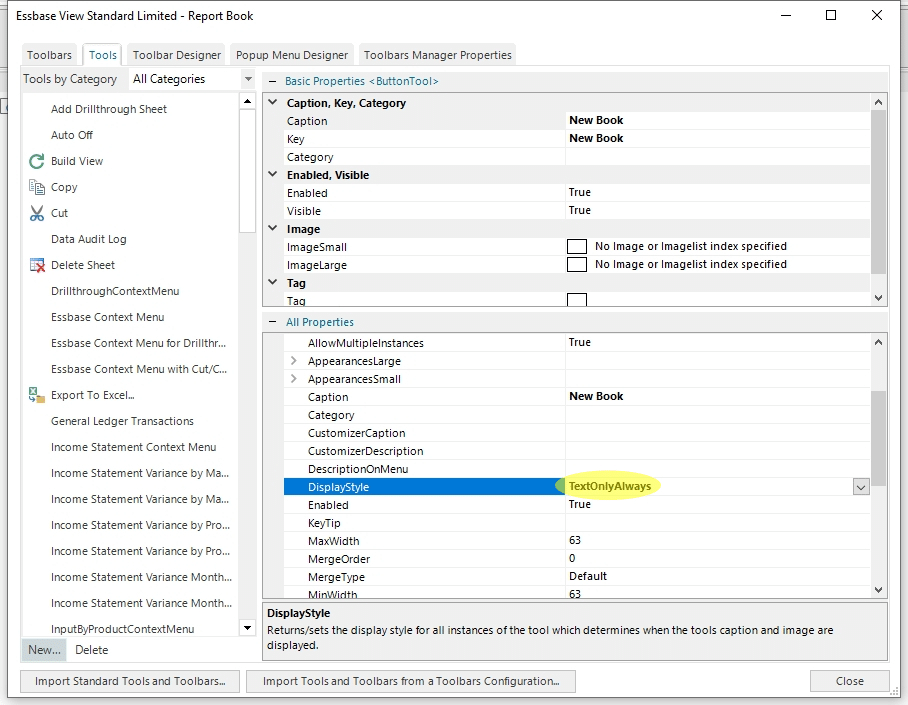
- Change the DisplayStyle to “TextOnlyAlways”. This indicates that our button will only have text and will not have an icon.
- Repeat that process for our next Button. Press “New…”.
- Select a Button tool. Enter “Add Worksheet” for the Caption and Key. Then press “Add”. Then close the dialogue.
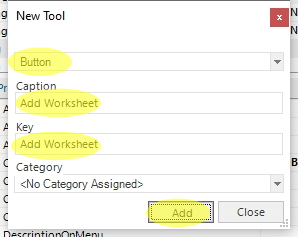
- Change the DisplayStyle to “TextOnlyAlways”. This indicates that our button will only have text and will not have an icon.
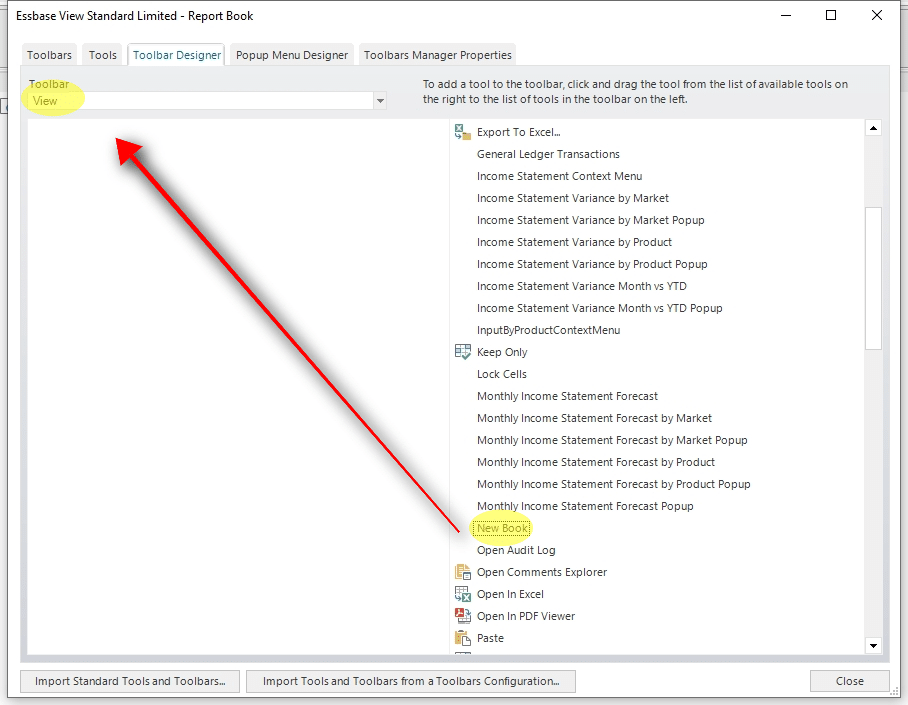
- Select the “Toolbar Designer” tab. Select the “View” Toolbar from the dropdown. Then scroll down on the right to “New Book”. Next, drag “New Book” to the top left and place it on the Toolbar.
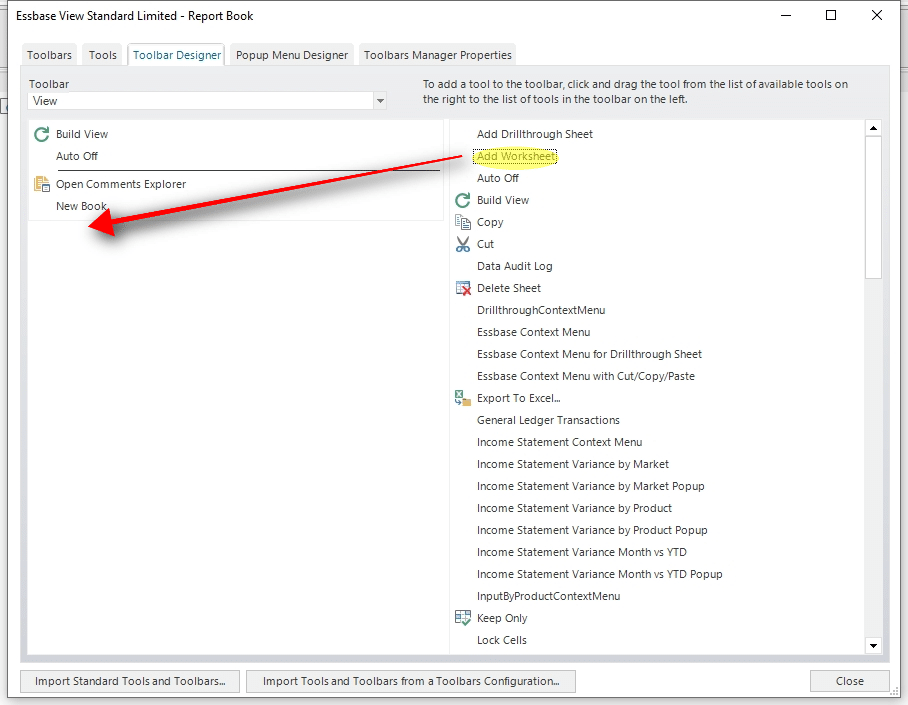
- Select “Add Worksheet” on the right. Drag “Add Worksheet” to the left and place it on the toolbar.
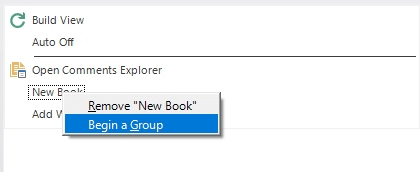
- Right click “New Book” and select “Begin a Group”. This will separate the buttons from others on the Toolbar. Now close the Toolbar Designer.
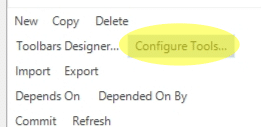
- Select “Configure Tools…”
- Select the “Add Worksheet” Tool Key on the left.

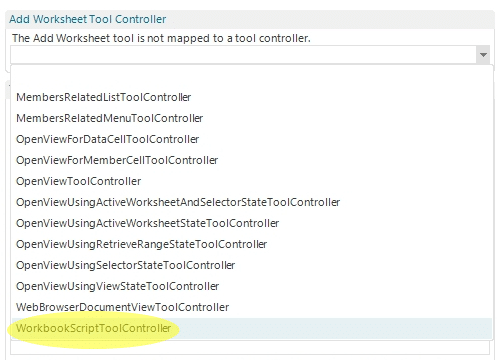
- Under the “Add Worksheet Tool Controller” dropdown, select “WorkbookScriptController”.
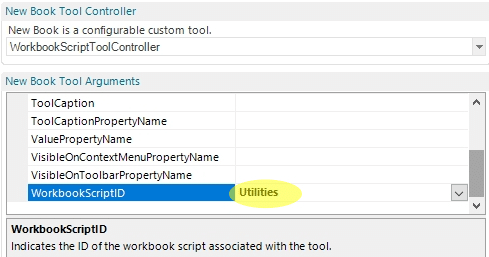
- For the WorkbookScriptID argument, select “Utilities” which is the WBS we created previously.

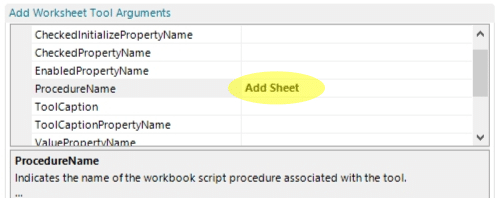
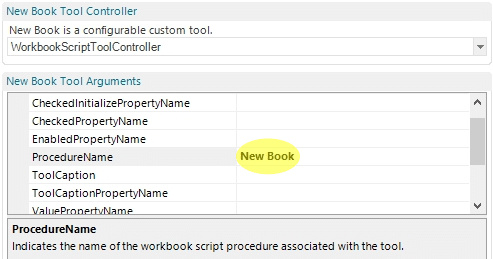
- For the ProcedureName argument, select “Add Sheet” which is the procedure in the Utilities WBS we created previously.
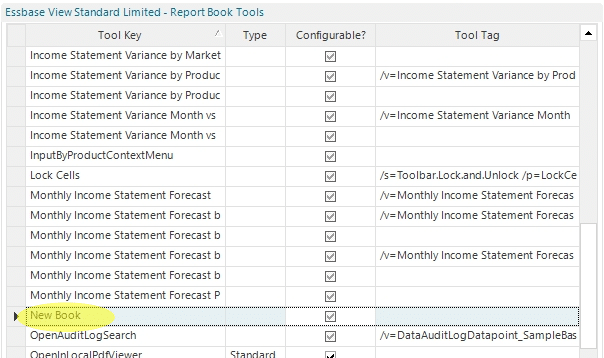
- Repeat the process for the “New Book” Tool Key by selecting it.
- Under the “Add Worksheet Tool Controller” dropdown, select “WorkbookScriptController”.
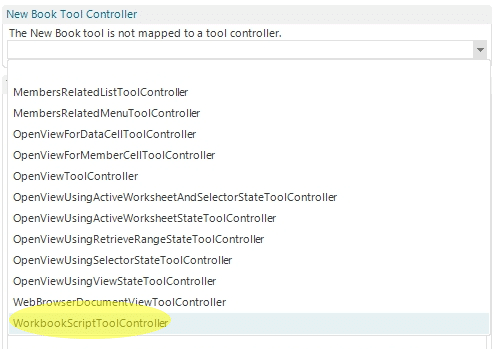
- For the WorkbookScriptID argument, select “Utilities” which is the WBS we created previously.
- For the ProcedureName argument, select “New Book” which is the procedure in the Utilities WBS we created previously.
- Press the “Commit Module…” button.

- Confirm that the changes will be committed.
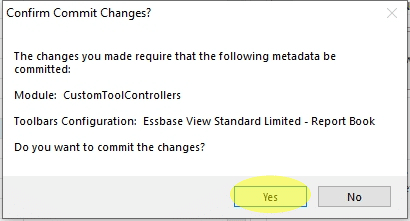
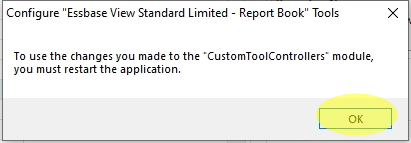
- Notice that Toolbar configuration changes require a restart of the Dodeca application. Close the dialogue and restart Dodeca.
- Once Dodeca has restarted, edit the View properties for the View we want to enhance.
- Change the ViewToolbarsConfigurationID property to “Essbase View Standard Limited – Report Book” and press “Commit”.

- Build the View to test it out. After adding a couple of sheets to the Report Book, open the Report Book view.
